DIY: Caulking the Bathroom September 17, 2007
Posted by Marty Wolfe in bathroom, caulking, cracks, diy, home improvement, leaking, water.add a comment
I had the idea of caulking all the sort of cracks and spaces in the corners of the kid’s bathroom. I did this in preparation for the in laws coming in town and they we’re going to use the bathroom. Plus, no matter what we do, the kids always get water outside the tub and this leaks down the side and somehow under the vinyl flooring. I guess I was worried that it would slowly rot or soften the subfloor (is that the right word?) under the vinyl flooring. Bathroom is on the second floor. Here’s what I did.. and how I would do it differently..
- Clear Out: I kept the kids out of the bathroom for a day before.. to make sure it was as dry as possible.
- Clean: Took some cleaning spray and cleaned all corners.. scrubbed them with a cloth and got them quite clean.
- Dry: I thought this was pretty important.. so I went around and dried all the areas I cleaned. All the crevices and corners
- Caulk: Only issue was I seemed to have chosen caulk that dries clear.. I wanted white so it would visibly cover as well as plug the holes/cracks. So I just used some simple tubes of caulk .. no caulk gun or anything. I just used it like pushing out toothpaste. Constant pressure on the bottom, using two hands to push out the caulk and get a single straight line.
So pay attention to:
- Make sure the caulk you pick up is the right color (e.g. clear or white).
- Apply constant pressure to the tube.. but you may have to use your finger to smooth out the job.
- Make sure you clean and dry out the places you are caulking .. oh and make sure there isn’t any wallpaper which will peel up. That’s a big deal.
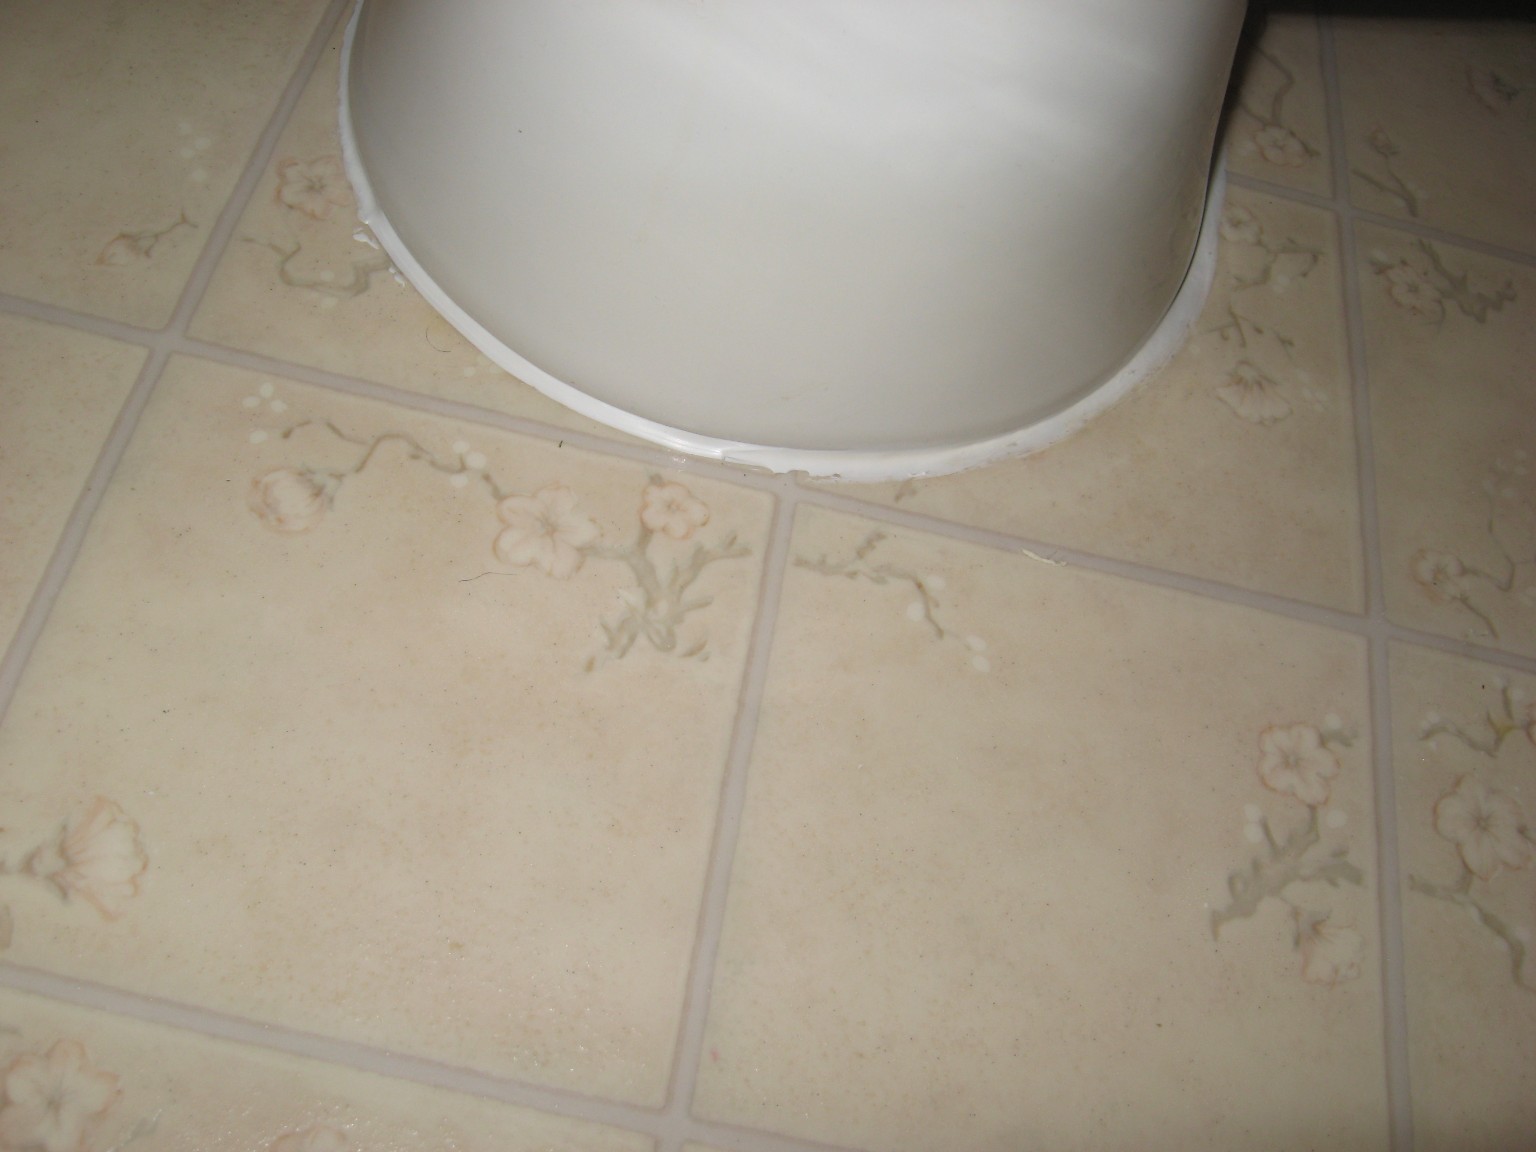
- Notice in Pic 2.. it looks like its not covered, but it is.. I had to push more caulk in .. and it dried clear (not what I wanted)
Post comments if you have some questions.
